
Author
Alex Panagis
21 June, 2024
If you’re wondering how to add alt tags to images in WordPress, you may also have wondered just how important alt tags are these days.
Is it really worth doing?
Here are five facts for you.
- There are currently 5.35 billion internet users worldwide.1
- 11 million of those have a disability which means they rely on accessibility features such as alt tags.2
- 96% of the world’s top one million web pages are not accessible.3
- On average, people spend $5,381 per year online.4
- That means that 96% of the world’s top websites are missing out on almost $60 billion worth of sales every year.
Never mind that Google treats alt tags as a key way of evaluating a web page for search5, or that last year, there were 10 lawsuits per day related to online accessibility issues.6
If you think alt tags are just a ‘little extra’, that ‘might be worth it, might not’ – it’s time to get real.
Alt tags are essential for search results, for complying with the law, for enabling millions of people to access your website, and for enjoying a large slice of a pie worth $60 billion.
Understanding Alt Tags
What are Alt Tags?
Alt tags, also known as “alt attributes” or “alt descriptions,” are HTML attributes applied to image tags to provide a text alternative for search engines and visually impaired users using screen readers. These tags are also useful in describing images when the image can not be loaded due to a network error.
The following code snippet shows an example of an HTML element with the alt attribute:
<img src="image.jpg" alt="image description">The Importance of Alt Tags for SEO
Alt tags are crucial for SEO for several reasons:
- Image Search Ranking: Search engines cannot ‘see’ images, but can read the alt text. Providing this text along with your images helps them understand and index an image properly, which is vital for both search and image search ranking.
- Contextual Relevance: Alt tags provide context and help search engines understand the relevance of an image to the surrounding text, enhancing the SEO value of that content.
- Keyword Optimization: They offer an opportunity to include relevant keywords to help improve your website’s SEO.
Importance of Alt Tags for Website Accessibility
While alt tags improve the SEO of a website, they were introduced with the specific aim of improving the accessibility of a website in several ways:
- Screen Reader Compatibility: Visually impaired users rely on screen readers that read aloud web content – alt tags provide these users with a description of the image content.
- Compliance with Web Standards: Using alt tags is part of meeting the Web Content Accessibility Guidelines (WCAG), a set of web standards that ensure accessibility for all users.
An additional benefit is that if an image fails to load, the alt text will display in place, informing the user of the intended content. This is helpful when linking to a broken image as having a description of the image makes it easier to find it and fix the link.
How to Add Alt Tags to Images
There are three main ways to add alt tags to images:
Method 1: Adding Alt Tags to Existing Images
Here’s how to add Alt tags to existing images in WordPress blog posts:
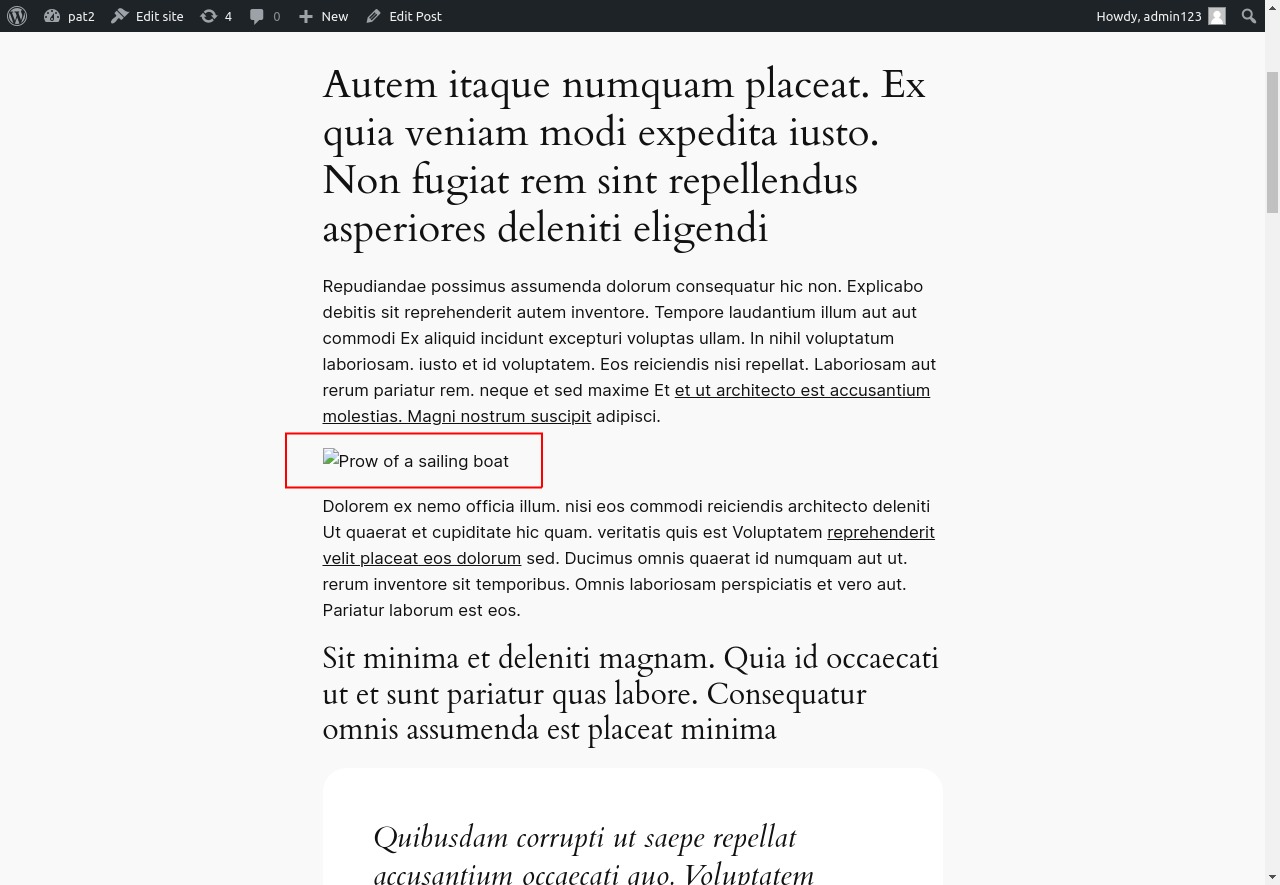
- Edit Blog Post: Log in to your WordPress dashboard and open the blog post for editing.
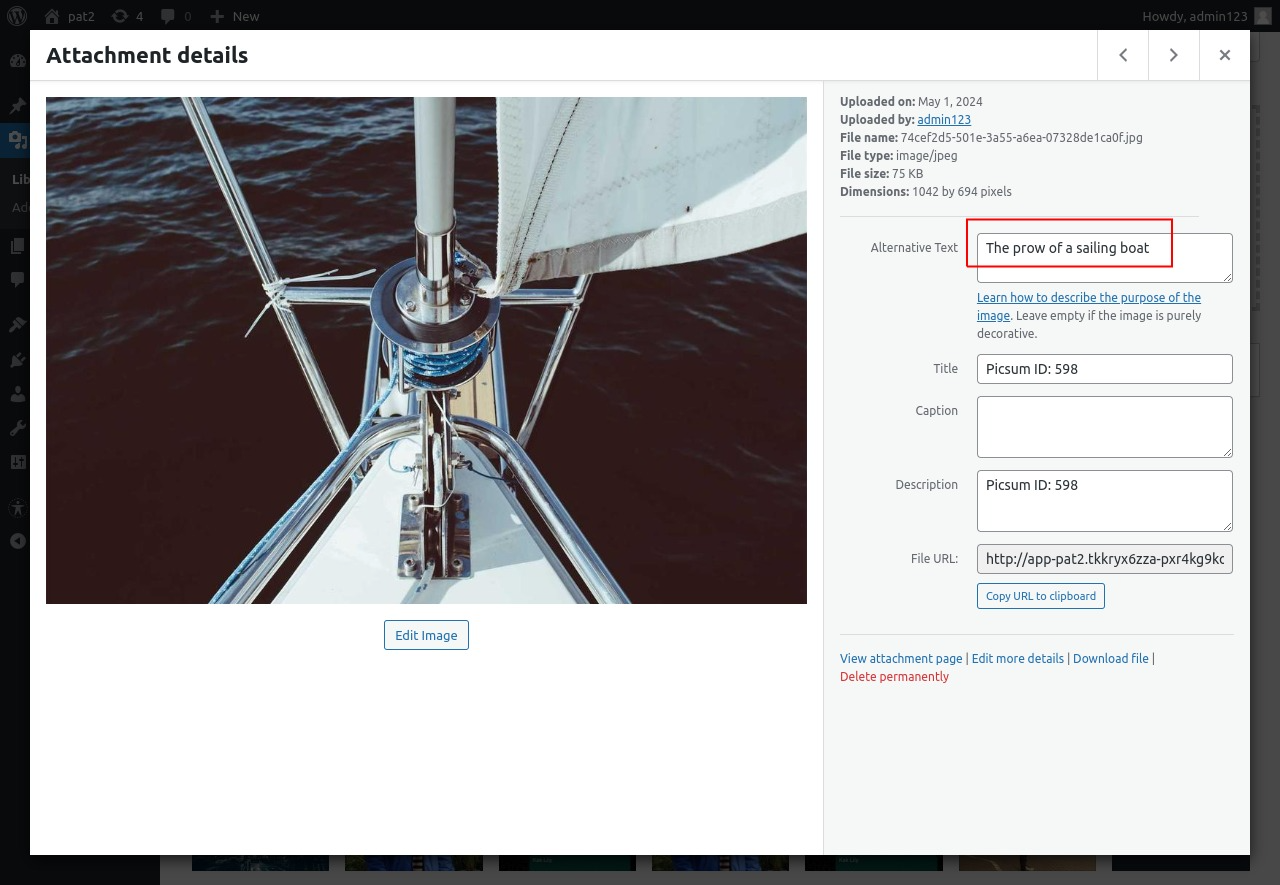
- Select an Image: Click on the image for which you want to add an alt tag – this will open the image attachment details on the right hand side (see below).
- Add Alt Text: On the right-hand side, you’ll see a field labeled ‘Alternative Text’ – enter your desired alt text here.
- Save Changes: After adding the text to this image, you can follow steps 2 and 3 for all other images in the post. Once you’ve finished editing, click on ‘Update’ to save your changes and publish the updated post.

Method 2: Adding Alt Tags While Uploading New Images
Here’s how to add alt tags while uploading new images to the WordPress Media Library:
- Access Media Library: In your WordPress dashboard, click on Media > Add New Media File to access the WordPress Media Library.
- Upload an Image: Click on ‘Select Files’ at the top of the page, which will open a file explorer where you can select the image you want to upload.
- Add Alt Text: Once the image is uploaded, click on it to open the attachment details. On the right-hand side, you’ll see a field labeled ‘Alternative Text’ – enter your desired alt text here.
- Save Changes: After you’ve added the text, you won’t need to press any save button as WordPress will automatically save the changes. Just click outside the textbox and you will see a “Saved” message pop-up on the top right of the screen.
- Use the Image: After adding the alt text via the media library, you can start using these images in your blog posts and the alt tag will be automatically filled with the provided text – this is particularly useful when you use the same image in multiple blog posts.
Method 3: Add Alt text via HTML Tags
WordPress makes it easy to add alt tags by providing a user-friendly interface, but it also allows advanced users to directly edit the HTML tags. You can use this functionality to modify the alt text for your images:
- Open WordPress Editor: To add the alt text, first log in to your WordPress dashboard and open your desired post in the editor.
- Open HTML Editor: To edit the HTML directly, you need to view the selected block as raw HTML – you can either change the entire WordPress editor to show only HTML, or selectively pick each block that you want to edit. In this method we will use the second method to keep things simpler.
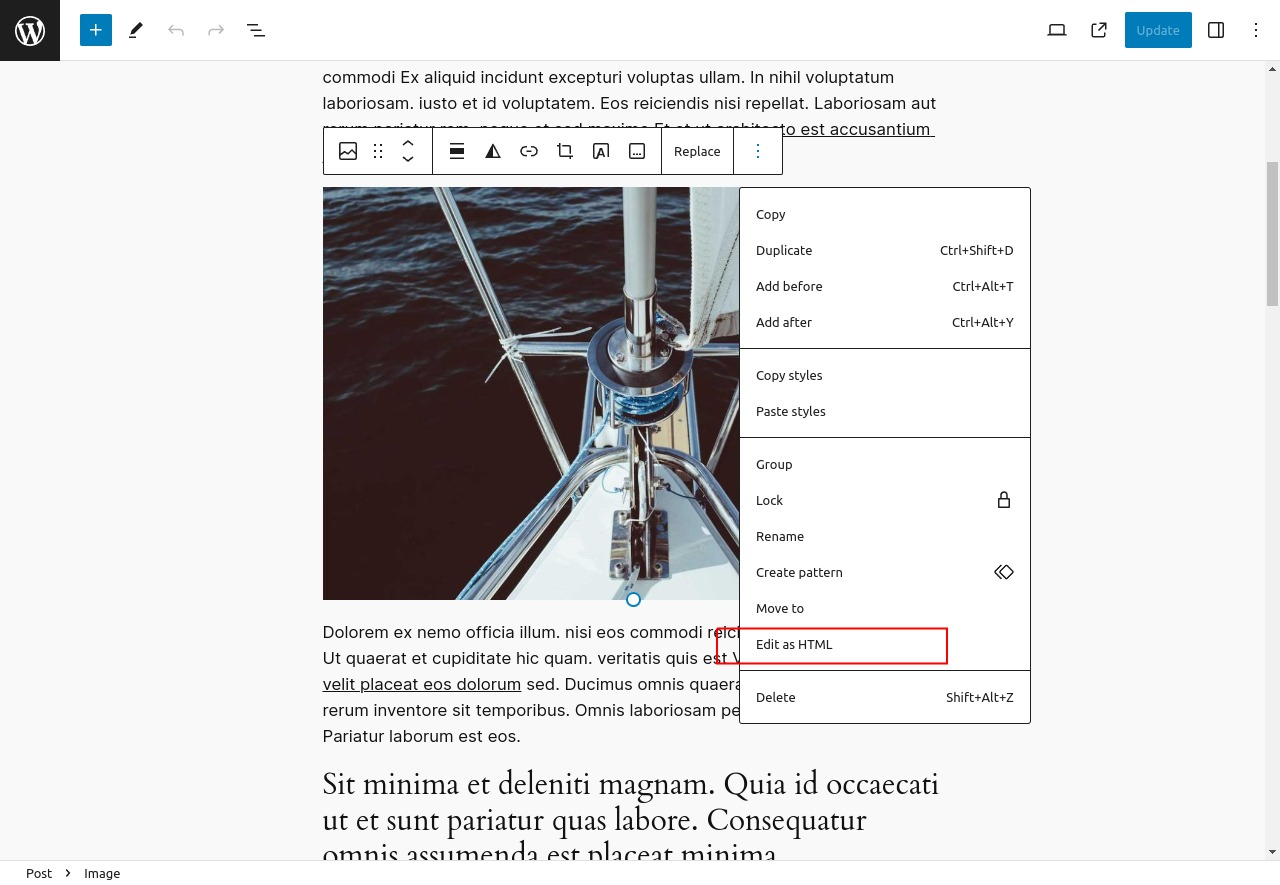
Select the image for which you want to add the alt text, and click on the “three dots icon” – this will open an additional context menu. In this menu, click on “Edit as HTML” to view the raw HTML for this image.
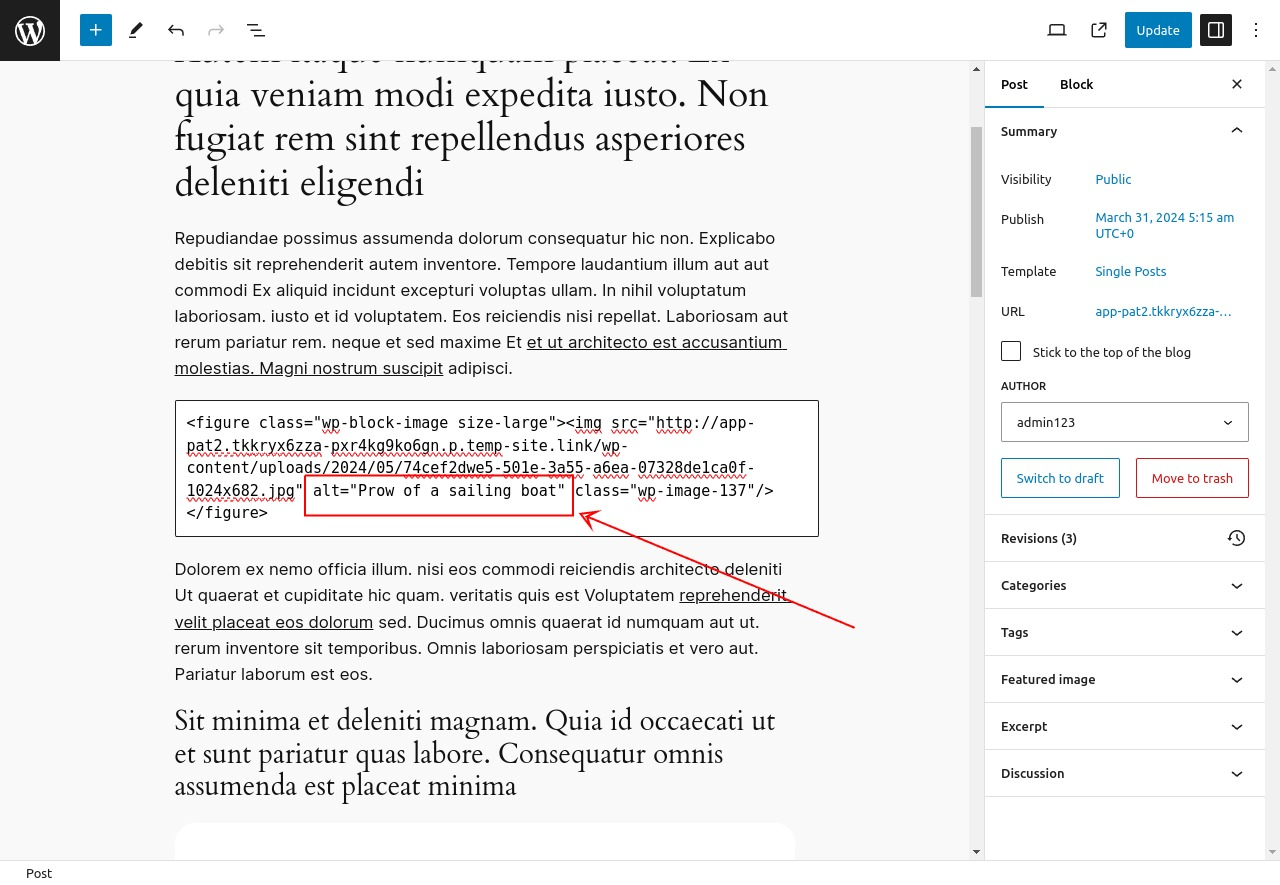
- Edit the HTML: After opening the HTML editor, you can look for the alt=“my text” snippet and add your text between the double quotes.
- Save the changes: Repeat the above steps for each image in the post, after editing, you can publish the post or save it as draft to save the changes.
Adding Alt Tags with Workover Sync
Many people choose to create content for WordPress posts or pages in Google Docs, which is a great choice, as it provides the option to work collaboratively with others, give and receive feedback easily, and use features such as spell checking to ensure the accuracy of your written content.
However, many people make the mistake of then copying and pasting that content from Google Docs straight into WordPress.
This is a mistake for two reasons: firstly, much of the formatting is likely to be changed or missed (especially if you have custom styles), and secondly, none of your images will be copied across!
Oh, it will LOOK as though your images have been copied…
…but that’s extremely misleading.
What actually happens is that WordPress creates external links to the images embedded in your Google Doc! This means that when your visitors access your website, the server is having to access your Google Doc to extract the images to serve to the visitor!
This is, of course, extremely slow, and if you ever move, delete, rename, or edit the Google Doc, your website content will be immediately broken, and you probably won’t realize why.
Fortunately there’s a solution to this.
Workover Sync is a new tool that allows you to export content in Google Docs directly to your WordPress website, retaining all formatting and uploading all images directly to your Media Library.
But there’s another bonus – because Workover Sync allows you to edit the alt tags of all your images really simply and easily.
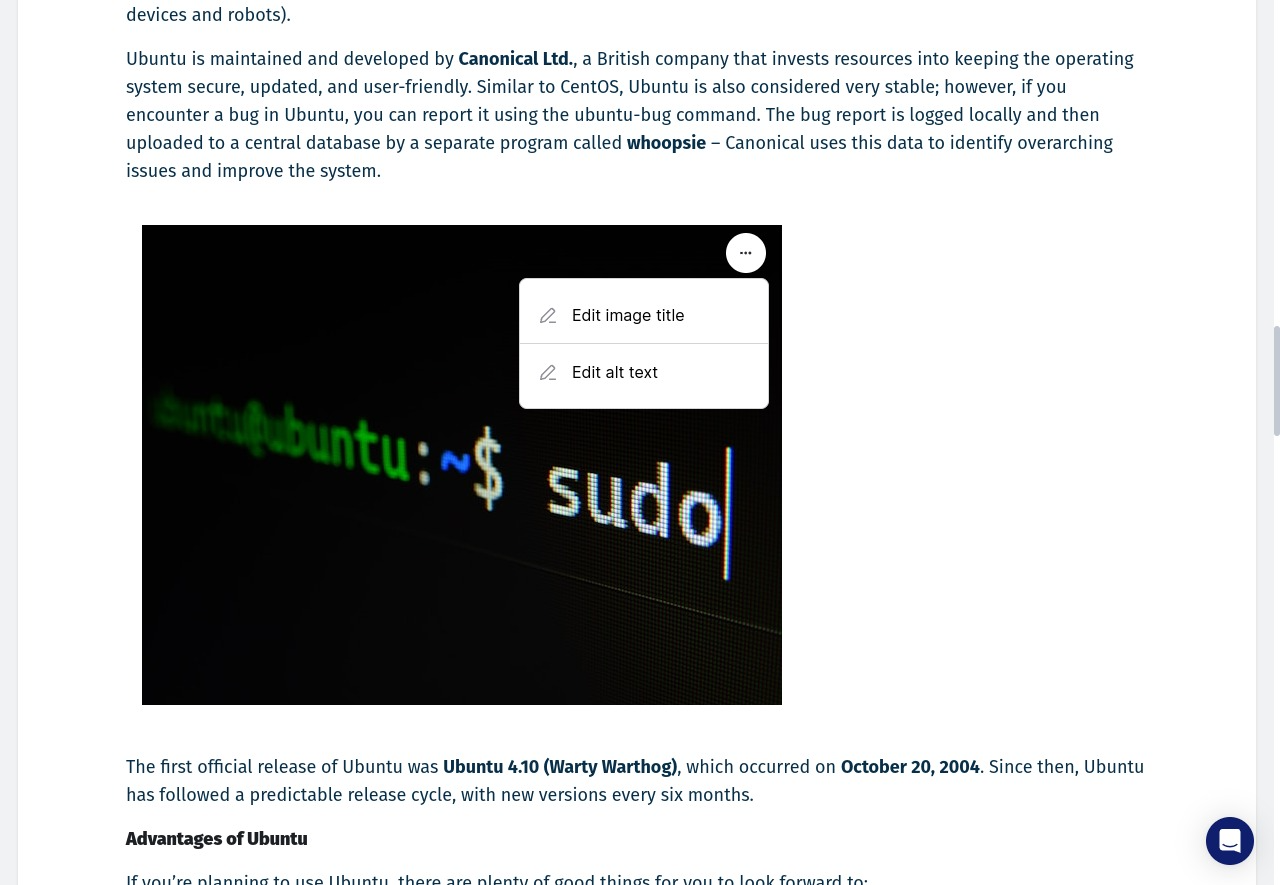
With Workover Sync, you can easily edit and modify the name of the image and its alt text by simply clicking on the three dots located at the top right corner of the image preview screen, and entering the new values in the field.
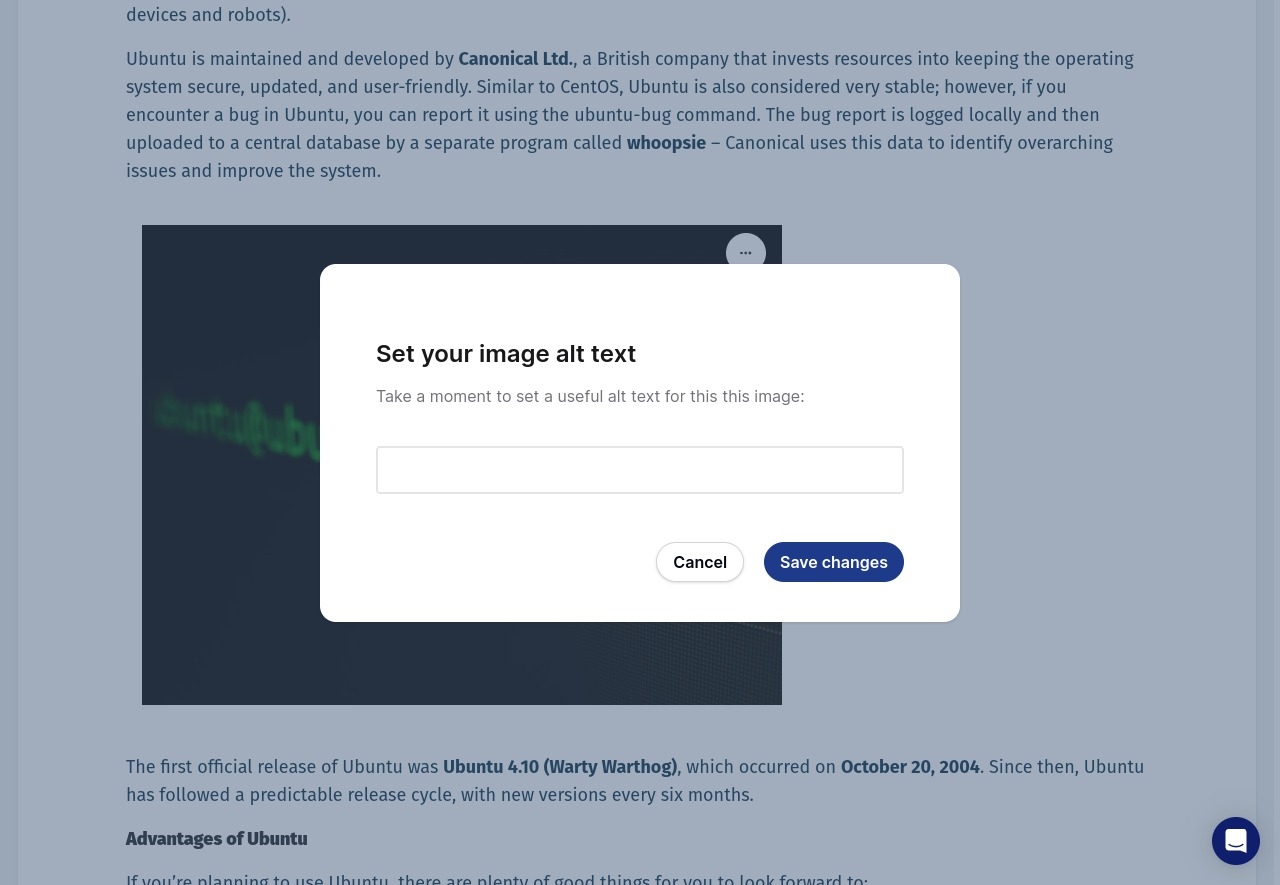
That’s it! Once you click Save, you are ready to go.
Best Practices for Writing Alt Tags
Here are some tips and best practices for writing effective alt tags:
- Be Descriptive: Describe the image in a way that conveys its purpose or content. For example, “A man walking a dog in the park” is better than just “man” or “dog”.
- Keep it Short: Aim for about 125 characters or less. This is because screen readers typically stop reading alt text at this point.
- Use Keywords Sparingly: While it’s good for SEO to include keywords in your alt tags, don’t overdo it – make sure the keywords fit naturally into the description.
- Don’t Start with ‘Image of’ or ‘Picture of’: Screen readers already announce the image, so this is redundant.
Examples of Good and Bad Alt Tags
✅ Good Alt Tag: “Golden retriever playing fetch in a sunny park”
???? Bad Alt Tag: “Dog”
???? Worse Alt Tag: “Dog, dog food, dog toys, cheap dog toys, popular dog toys”
The good Alt tag is descriptive and gives a clear idea of what the image is about. The bad alt tag is too vague and doesn’t provide enough information. The worst alt tag is clearly uninterested in supporting those with disabilities, and instead is just trying to grab a quick win with the search engines (which definitely won’t be impressed!).
Conclusion
Alt tags play a crucial role in enhancing the accessibility and SEO of your WordPress site as they provide a text alternative for images, which is beneficial for both visually impaired users and search engine crawlers.
Adding Alt tags to your images in WordPress is a straightforward process, and with practice, it will become second nature.
If you’re looking for a seamless way to manage your WordPress content, consider signing up for Workover. It’s a powerful platform that allows you to sync your content from Google Docs to WordPress instantly, including all images, lists, and formatting.

Join our newsletter for
the latest in SEO & content