
Author
Alex Panagis
16 July, 2024
Ever wanted to flip or mirror an image in Google Docs?
You’ve come to the right place – here’s how:
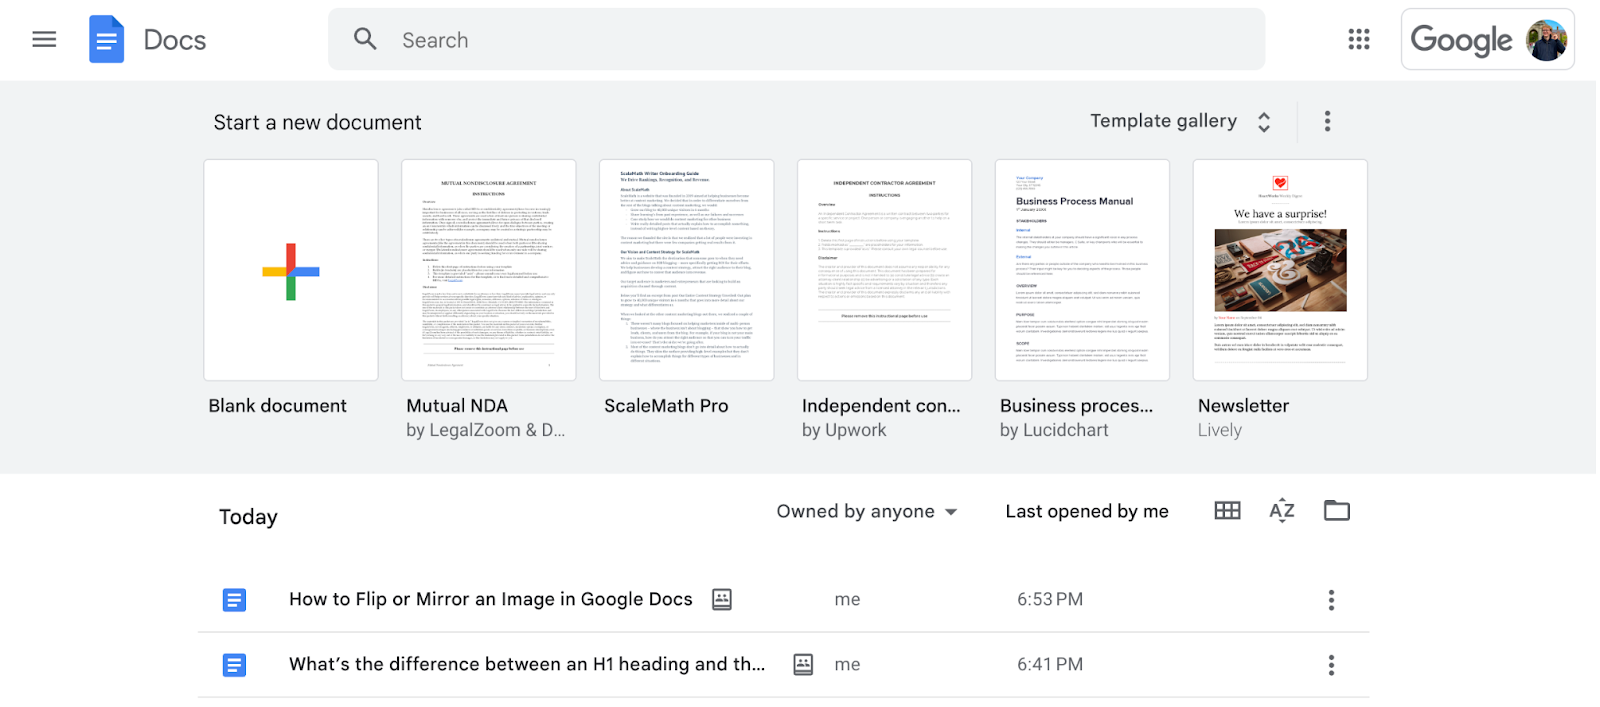
1 – Open up the Google Doc where the image is located (or create a new Google Doc)
Head over to https://docs.google.com and navigate to the Google Doc you wish to insert this image (and flip/mirror it in) or create a new Google Doc.
Sidenote: You can easily create a new Google Doc using the convenient docs.new shortcut in your browser:
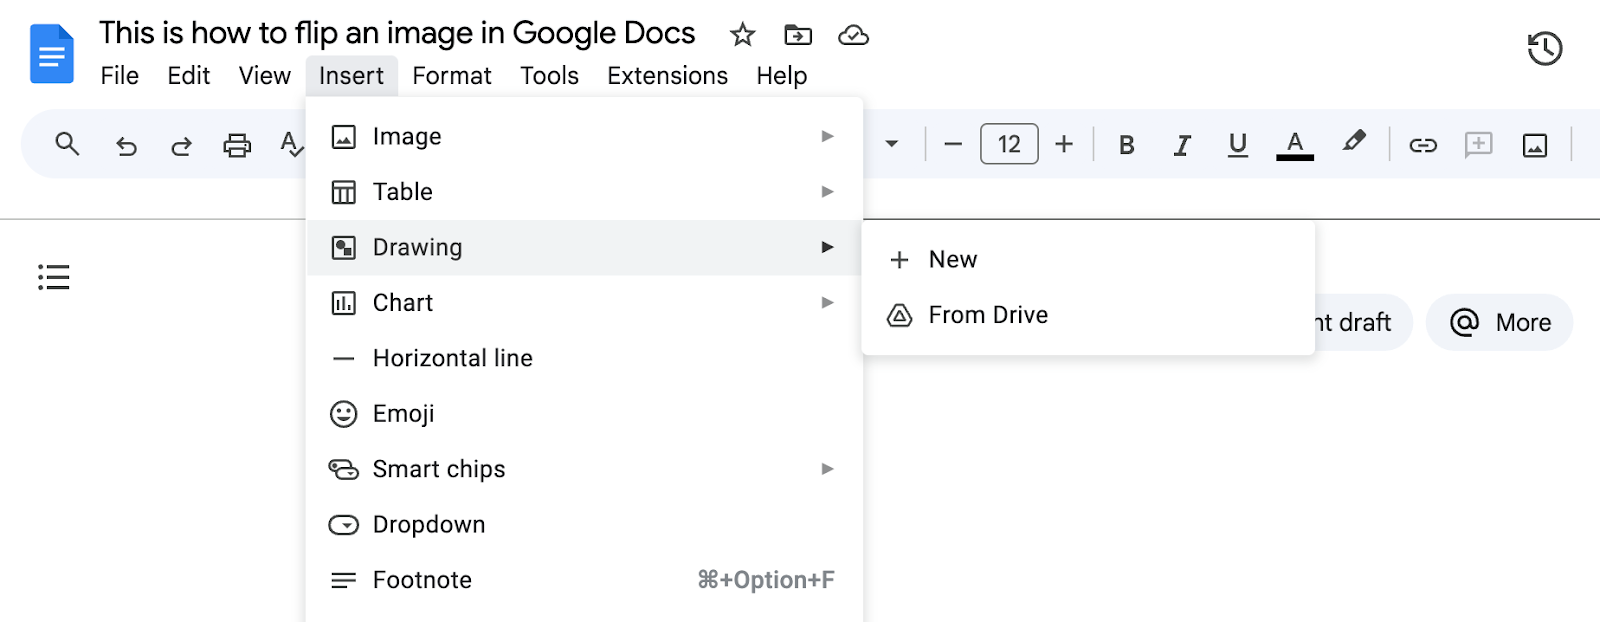
2 – Go to “Insert” in the toolbar and then select “Drawing”
Now that you’re in the Google Doc you want to insert and flip an image in, simply use the Insert > Drawing > New option as shown below:
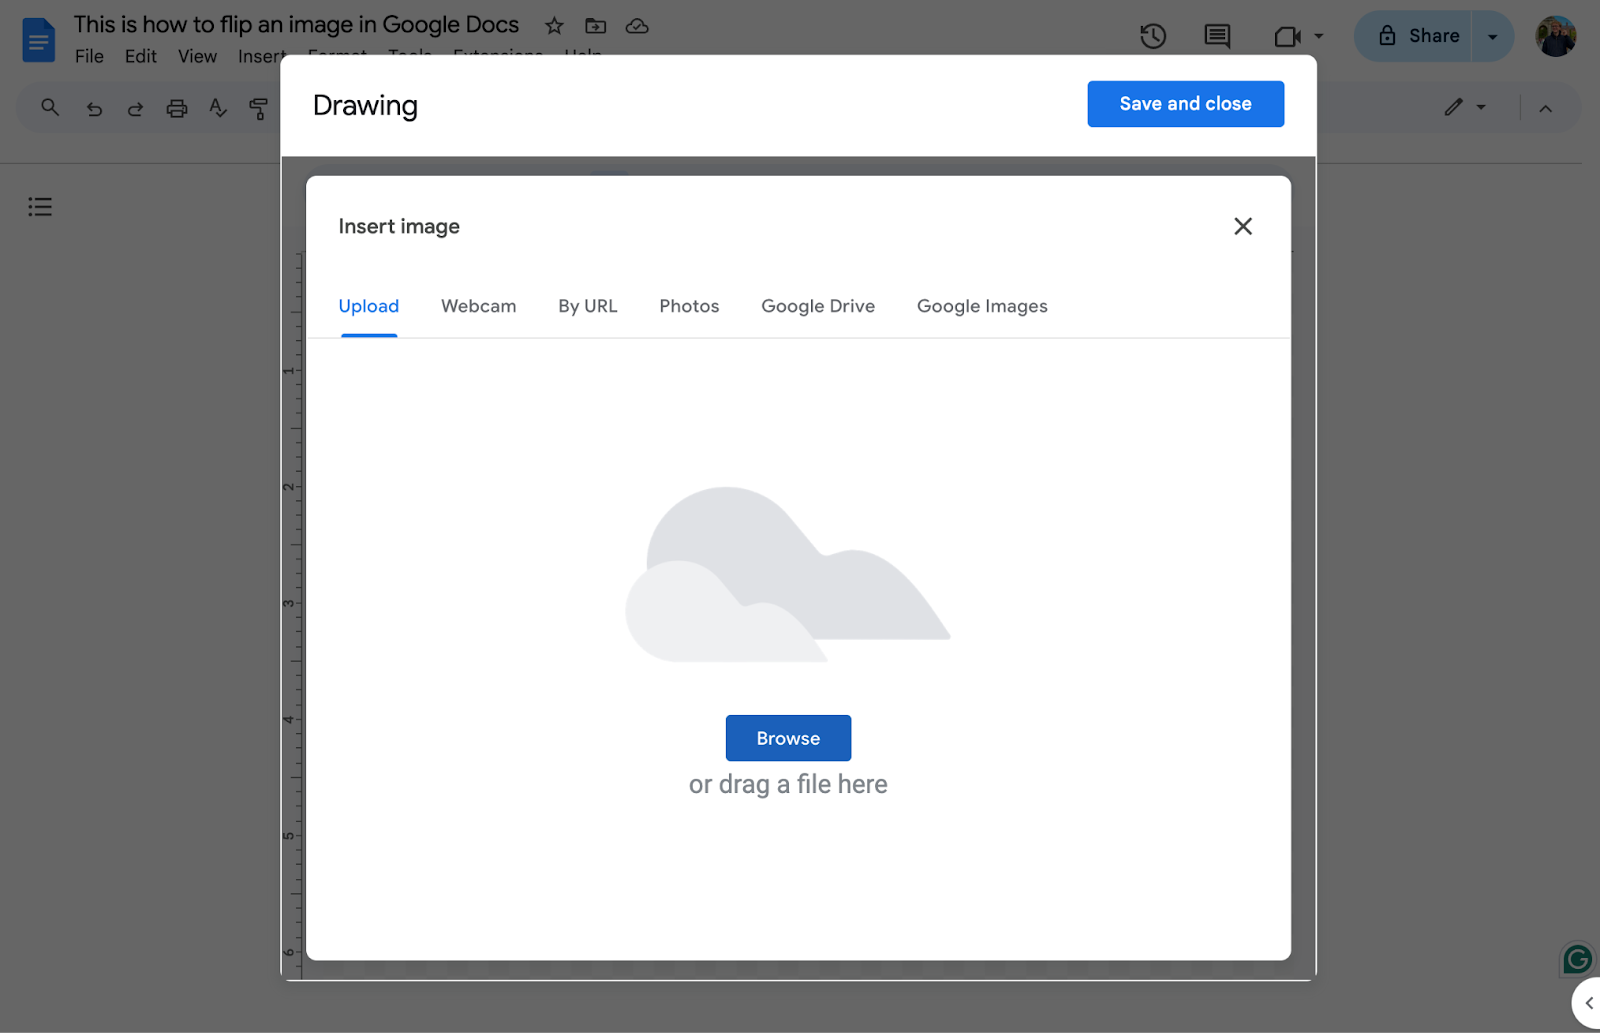
3 – Choose the image you want to insert
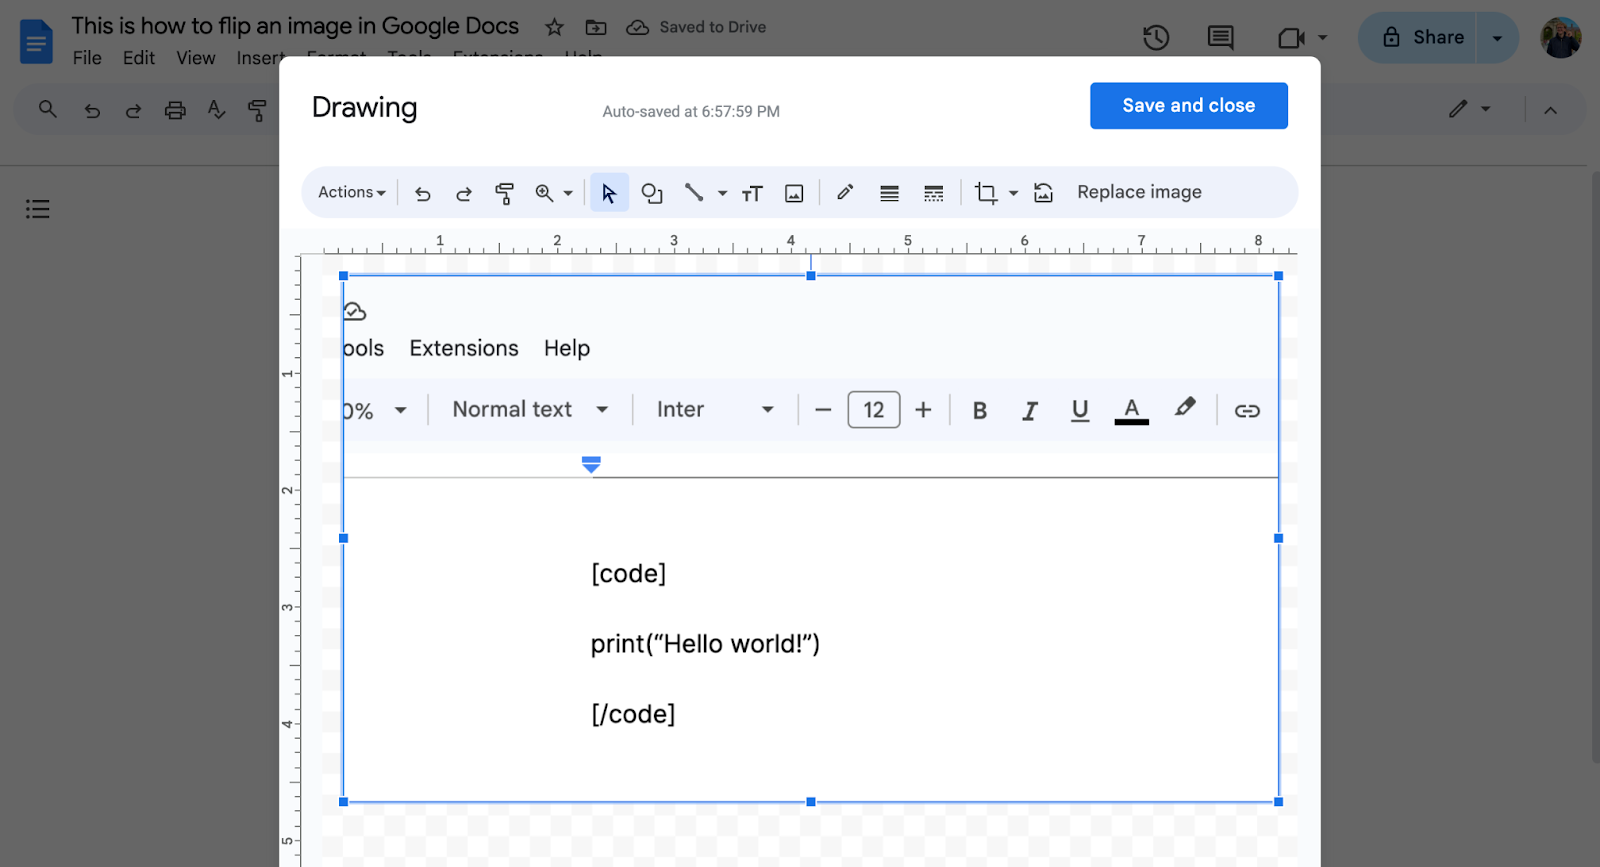
Inserting the image as a drawing is what will allow you to take advantage of the image editing (and, most importantly rotate feature). So, once the drawing modal appears as shown below – click the image frame as highlighted below:

Then proceed to select the image you wish to insert from your computer’s local filesystem, your Google Drive account, or any of the other available options.
4 – Flip the image (using “rotate”)
Once you’ve inserted an image, you should see it appear on the drawing canvas, as shown below:
From here, all you need to do to flip the image is head to Actions > Rotate and select the rotation you wish to apply to the image.
Google Docs supports:
- Rotating an image clockwise by 90 degrees
- Rotating an image counter-clockwise by 90 degrees
- Flipping an image horizontally (the most common and popular choice)
- Flipping an image vertically
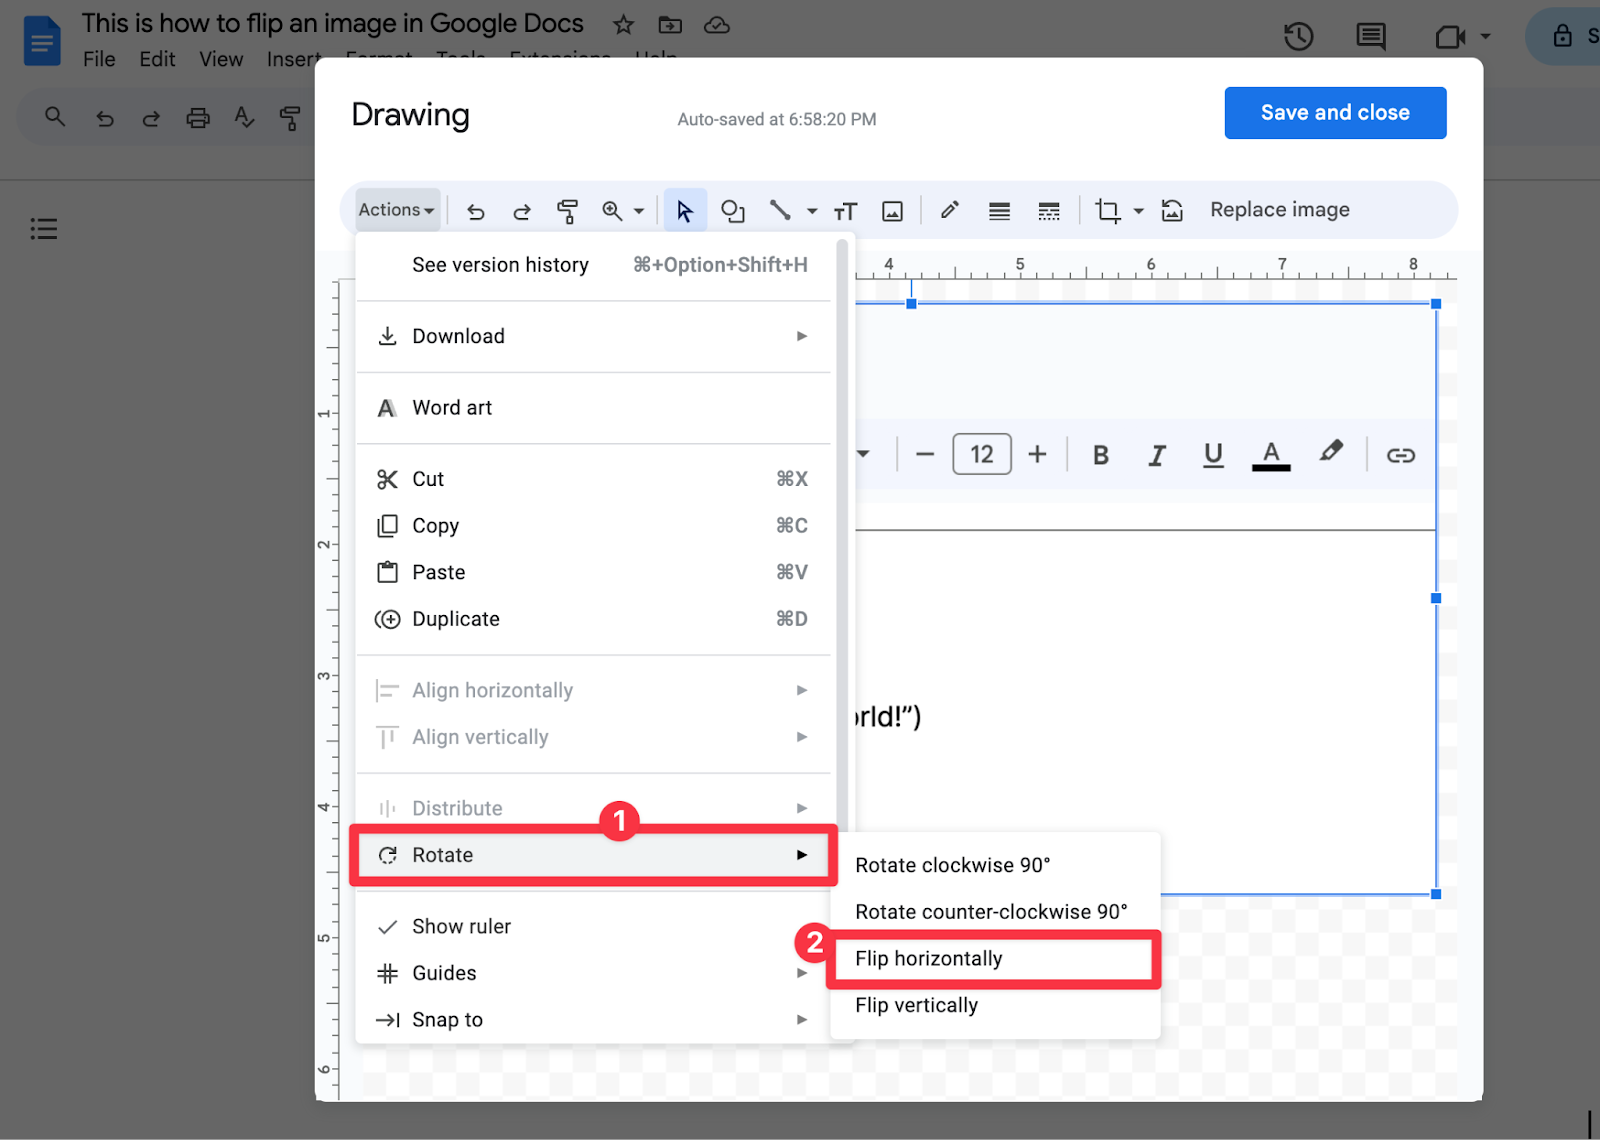
Choose whichever rotation you wish to apply to your specific image.
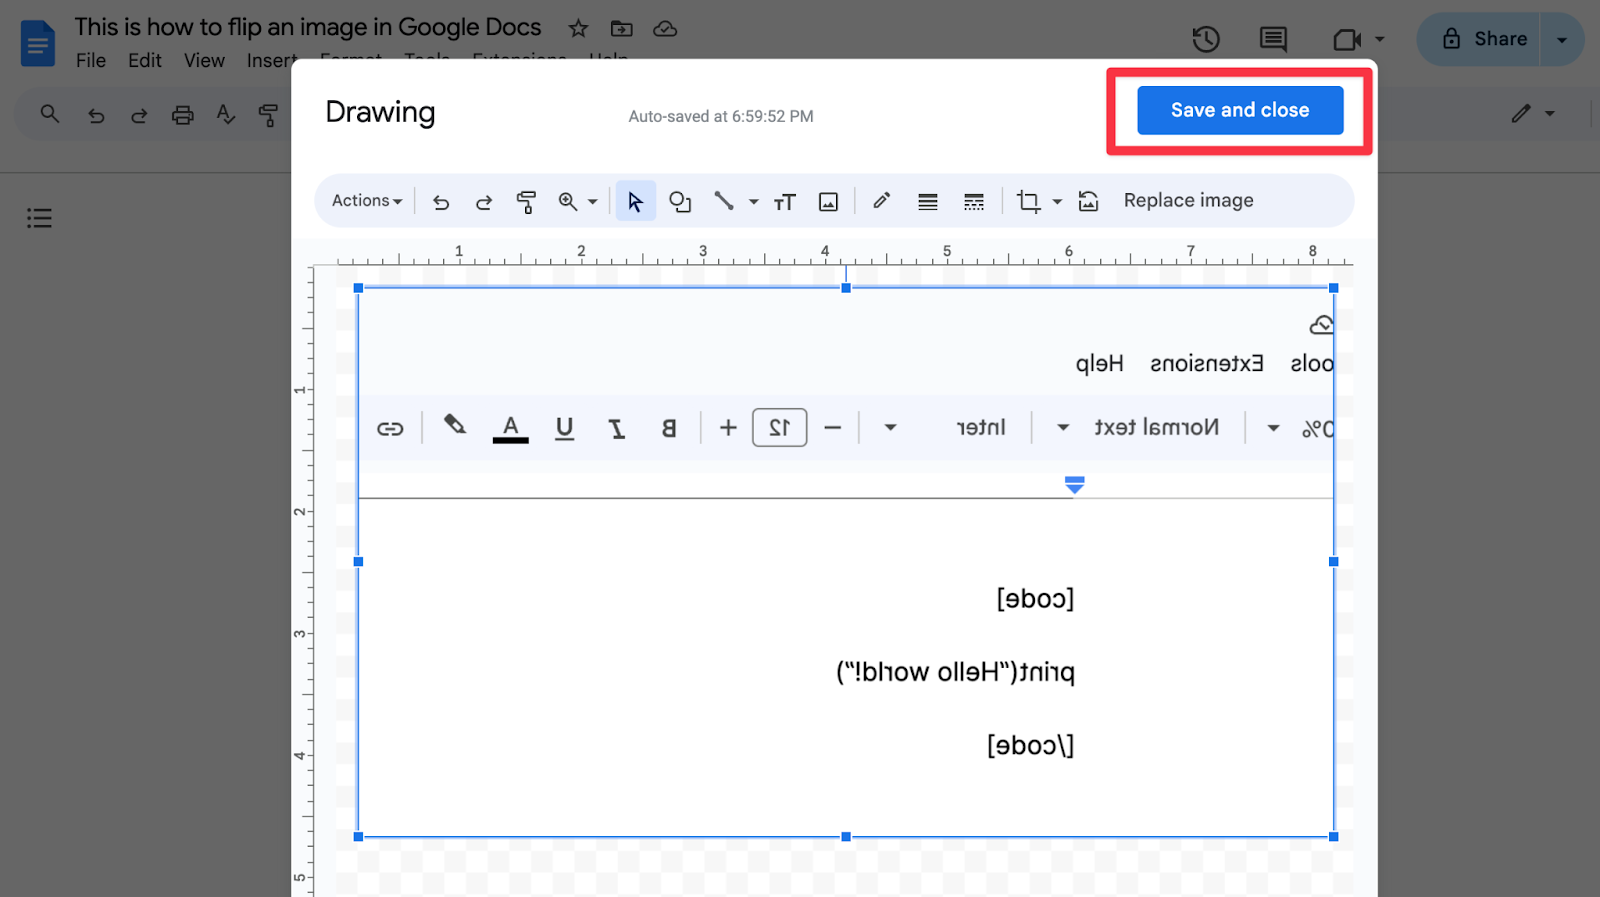
5 – Save & close the drawing
And once you’re happy with how the image looks, confirm the changes and insert it into your Google Doc by clicking Save and close.
And there you have it, that image will now appear in your Google Doc:
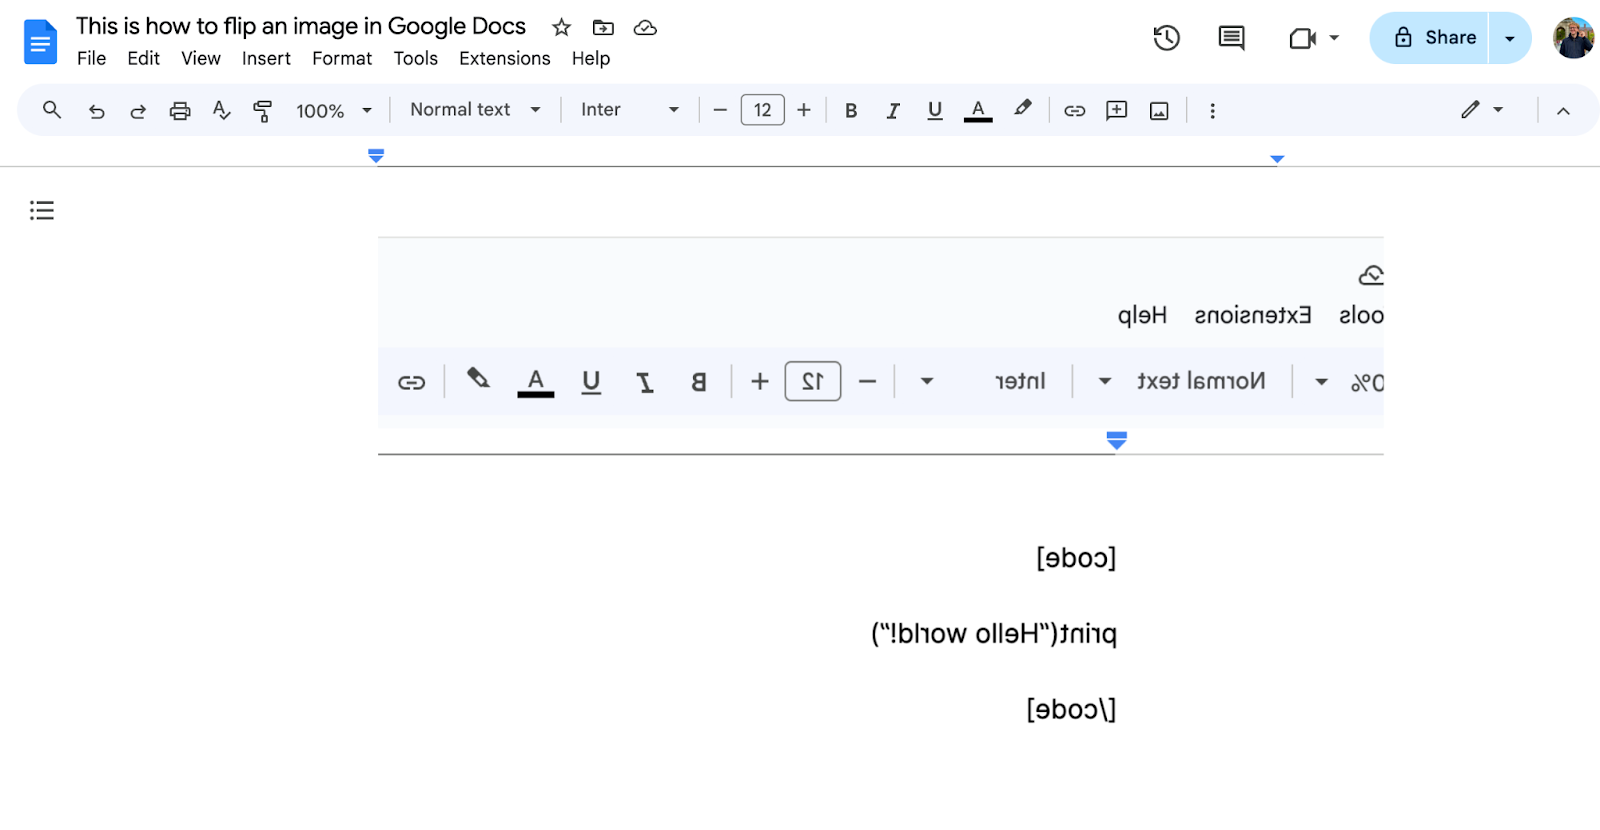
And that’s it! You’re all set. ????

Join our newsletter for
the latest in SEO & content